Wednesday, August 29, 2012

C3 - Content Development #4 - Fashions/Clothing Editing and Designs

Fashions/Clothing Design

Now, I am going to make some clothing design, based on the researches that I conducted before. So, looks like I am going to be a fashion designer for this project, except without sewing and tailoring. For now, I still do not have the mannequins in my possession, so the designs and postures of the mannequins is in just random style. At this point, I just practice myself in designing the clothes for storyline.

So, maybe I should start with simple stuff by sketching how my mannequins should look like. Right now, I am using Photoshop to draw the mannequins template.


Next, I am going to sketch the clothing design. From here, it is all based on my concept arts, storyboards and flowcharts. Here, I just made examples by making out certain theme like what kinds of clothes/fashion that are available in Malaysia

For now, I am going to make three local traditional cultural outfits that available in Malaysia, such as Baju Kurung, Cheongsam and Sari for female and for male is Baju Melayu, Dhoti and the other one is not sure what should I call the outfits for Chinese men to wear (help me to get its name, please..).

Then, by using any references and sources that I collected, I make some few sketches first.

Cultural Outfits for Men in Malaysia

Cultural Outfits for Women in Malaysia

For the outfits, I prefer to make a darker clothing, so it will not blend with the surface color of the mannequins.


Now, I design the clothes according the position and the shape of the mannequins by using tracing method. Here are the results:


Now, all these clothes design can be applied to the mannequin and these are they will look like when wearing the clothes:


Although these are just in digital image art, but when applied the same method through real time projected visual, the result is the same.

So, for next step, I will going to make the backgrounds using the same concepts. Both background and clothes design should have the same theme, like for Malay culture outfits, will most likely have a background of old traditional houses scenery or 'kampung' style. It gives a right feel towards the viewer to see the scenery and fashion match.


C3 - Content Development #3 - How about some little prototyping?

Prototype or Mini Sample of the project


I feel like my project development needs something a bit smaller. I wonder what it is..Oh, a prototype model or miniature setup of my projection mapping installation. Since my project involved building the installation, why not show some sample of my project plan miniature? That could be good for laugh, I mean, just to show some sample concepts though.

Before I explain further, this prototyping setup just used simple materials that involved medium-quality A4 papers. I don't think I wanna spend too much on building the prototyping, am I?


Some cheap A4 papers. Ignore the sketchbook there. What I am going to build is a bit different than that early sketches.


First, I took some papers and folded it to make it a bit stronger and thicker and was set up as a floor. The wall panel consists of one single paper, folded in half and folded to the side to make 3 panels, as it to look like a panoramic view. Also, this paper is spammed by some sellotapes, to make it still stand. Now, the stage area mock up is done.


For the mannequins, I have a plan to make it with clay materials, but since I don't have clay and have no skill in sculpturing (actually, I need to save budget..heh), so, I just used Photo Glossy Paper instead (I have lots of it for fine print example of my artworks). So, I printed my mannequins drawings that I shown in previous post before by using Glossy Photo Paper. The paper is strong and shiny, so that's good to make my cutout drawings stand still.


Next, I make cutouts of my mannequins. Now, they look just exactly like paper dolls, with no clothes on. (*sigh).


The white space at the below of the cutouts is needed to make the paper stands or it will flip over like a jelly strips.


The cutouts were placed on a mock-up paper stage.


For next step, I wanna try the projecting effect, but I don't have a projector or anything that can projected visuals for my miniature. So, how am I going to show the effects? Well, I just imitated the effects, by using the torchlight.


Shine the light to the stage and that is how my installation should look like. Well, not exactly like what I shown here, but at least we can get some ideas on how the image will be projected through the objects and backgrounds.


As you noticed the shadows on the background, that area is where the clothing should be placed in my software outputs. This is also almost the same technique that I should use for the final build. I will use the projector lights to position the overall setup, like where it will projected, the distance between the mannequin object and the background and anything that makes the projection mapping visual is in the correct position for better effects.

In the end, this is how I build my little prototyping and mock up set up for projection mapping, with some limited tools.

Monday, August 27, 2012

C3 - Content Development #2 - Understanding the Mapping on Mannequin

Content Development #2 - Understanding the Mapping on Mannequin


Here is some experiment and technical info on how do I handle with the mannequin mapping.
Since I still do not use the real projector to test the real mapping , I just made a simple test by using certain software and tool to imitate the effects.

Before conducting the test, there are few things that I need to mention, like the mannequin poses are differ than the one that I am going to use for final build. In this experiment, I made up certain poses only since the type of poses will affect the overall image mapping. When using real mannequins, the overall projection mapping visual will change according the poses of the mannequins. So, before getting the real mannequins, I will choose a proper type of mannequins that really satisfies the condition of providing better projection mapping visual.

This experiment also does not represent the final build. Changes will dramatically occur in the final product.


Quick Concept and how it works

Here is my quick concept and overview on how mapping will occur to the mannequin dolls that have been set up on the stage for example.


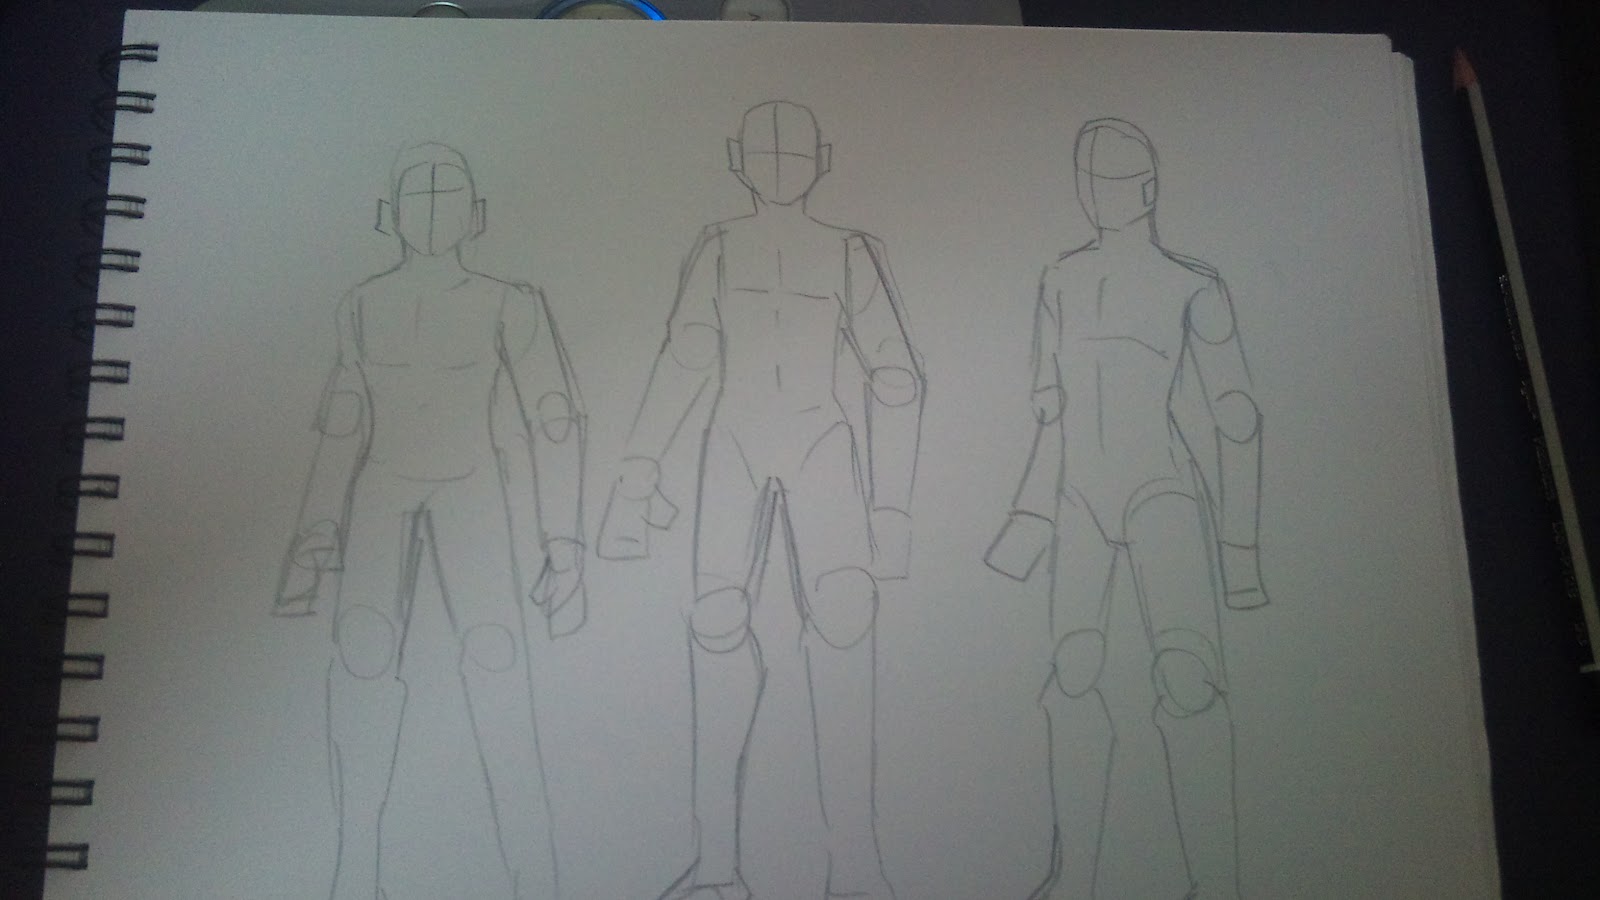
1 - Here are my two sample drawing of mannequins, that are placed on the floor or stage area. These mannequins are just 'naked' and do not wear anything.

2 - The digital image of the clothing. For this example, let's take casual clothing and edited in simple drawing.  The clothing image was edited according to the position and poses of the mannequins. This will be used as a projected image.

3 - Using the above clothing image, the projector will then projected that image to the mannequins and the results; two mannequins will have their clothes on!


4. Since there are no background, let's take this quick drawing as an example; a busy city scene. This background will be merged with the clothing images as shown before.

5. Now, the clothing and background images are merged. This full image then will be projected on to the mannequins again

6. Here are the results of the mapping.

Basically, the mapping visual on the mannequins is just like paper dolls toy concept. The image projected to the wall represents as a clothing paper that needs to be applied on a paper doll, which is a mannequin in this case. The projected visual that come out from the projector is consider as a layer for clothing and also a part of the background.

In technical, here is how the setup will look like:


Notice the black shadow that falls on background. That is where the clothing layer should be placed according to the position of the mannequins. If done correctly, the clothes visual will fall on the surfaces on the mannequins, thus making them to look like they wear clothes.


Here is another sample set up that shows different layer of the background and clothes that merged together into one visual that will be projected to the stage:


Layer 1 is for clothing layer that used to project on mannequins surface and Layer 2 is a background that will projected on the stage wall. By combining both layer into one visual, the projector will than projected the visuals to the stage.

Layer 1 and Layer 2 will be combined through certain software that can display in separated, independent layers when editing only, but when projecting, it becomes one layer. It is better to make separated layer for easy editing, in case of me doing some mistake of the proportions and placement.

When the projection image falls through and projected to the stage, the mannequin figure will take place the clothing image area, thus overlapping the clothing graphics to the mannequin and made them 'wearing' it.

Setting up the mannequins needs to be done in proper way. If the mannequin is placed a bit further than where it should be, the projected image will not aligned properly, thus provided a sloppy job of mapping. All this thing can be measure and placed correctly by using special software that can do proper projection mapping distance measurement. On the other hand, the installation stage need to be done and setup earlier, then I will proceed to the software editing, although it also works on the other way around.

I also need to be more precise on setting up the projector. The length between the projector and the area stage need to be calculated, or the projected visual does not sync correctly.

C3 - Content Development #1 - Software

Content Development #1

Software

The software is used to generate, edit and publish the content of the visual that needed for projection.

In order to make a montage, video or animated visuals that needed to be projected on the stage, I would consider to use the following applications or software:

Video, animation and montage editing
Sony Vegas
Camtasia Studio
Adobe Flash
Adobe After Effects

Photo, illustrative art and digital drawing editing
Adobe Photoshop
Adobe Illustrator
Paint.NET

Projection Mapping editing
VPT 6.0

VPT is the software that I truly needed to learn since it involves real time projection mapping. I'm still new with the software, so I need to refer certain tutorials, like from the following videos for examples:


C3 - Flowchart

Flowchart


Media Type: Animation, Illustration and Video Montages
Estimated Scenes: Five
Estimated Timeline: 8 minutes

This is the flowchart for the screen montage that plays the media on the software and projected to the stage area.


C3 - Budget and Items Listing


Budget and Items List

For the budget plan, there are few items involved for the project.

1. Personal Laptop

For this project, it is recommended for me to use a laptop for running the software while the visual is projected. For the type of laptop, I prefer to get a laptop that is capable to run the software smoothly and capable to render a visual or video faster.

2. Projectors


Used for projecting display. Lots of brand can be get (and even borrow :P).

3. Mannequin Items

Mannequin model is one of the main items that needed for the final project. Here is the lists of the place where I can get the mannequin around Malaysia.


Shop 1

Company/Shop Name: TheMannequinShop Enterprise: 

Shop Address: Puchong, Selangor

Shop Website URL: http://themannequin-shop.blogspot.com/

Mannequin Products Sample:


Full Body Mannequin 


FEMALE MANNEQUIN

Price (not including postage fees)
RM290 (LIGHT)
RM500 (HEAVY)

Mannequin details 
Made of heavy duty unbreakable plastic
Comes with gorgeous makeup & eyelashes
Head can turn to any angle
Detachable body for easy dressing up
Comes with base plate & can wear shoes


MALE MANNEQUIN

Price (not including postage fees)
RM320 (Light)
RM600 (Heavy)

Mannequin details
Made of unbreakable plastic
Comes with gorgeous makeup & eyelashes
Head can turn to any angle
Detachable body for easy dressing up
Comes with base plate & can wear shoes


Shop 2


Company/Shop Name: Pacific Artificial Model Trading Sdn. Bhd 

Shop Address: Jalan Kenanga, KL

Shop Website URL: http://www.mannequin.com.my

Mannequin Products Sample:


* Prices are unlisted. Will need contact to get the price listing of the mannequin items.


Shop 3

Company/Shop Name: JME Equipment Sdn. Bhd 

Shop Address: Jalan Kenanga, KL

Shop Website URL: http://www.gondola.com.my

Mannequin Products Sample:

A241
A237
B-171

* Prices are unlisted. Will need to contact to get the price listing of the mannequin items.

Here is the rough listing prices of the items that needed to be used for my project plan:


Product                                                  Price (RM)

Mannequin                                      
  -Small - Plastic                                       250  
  -Large - Plastic                                       400
  -Small - Fiber Glass                                300
  -Large - Fiber Glass                                600

Projector                                                1,200

Personal Laptop                                      3,000
Wall Panel 
(Wooden Board)                                        300

Here is my complete budget sheet for the overall plan project:


*View the budget list in PDF format


Sunday, August 26, 2012

C3 - Functional Specification Worksheet and Gantt Chart

Functional Specification Worksheet and Gantt Chart


My functional specification Worksheet:


Click here to view in PDF format.


My Gantt Chart:

Click here for full view, XLS Excel Format

C3 - Idea Development #3 - Storyboard and Timeline

Storyboard and Timeline


Here is my storyboard and some rough scene timeline of my projection mapping plan.
The storyboard is the scene of the montage that plays and projected on the stage.


C3 - Idea Development #2 - Mannequins and Stage Area

Idea Development #2 - Mannequins and Stage Area

Mannequin

Mannequin is one main important item for my project. Well, if you don't know what mannequin is, it is just a display doll or dummy that you can find mostly on fashion boutiques or tailors. It is designed to display the fashion clothing.
http://en.wikipedia.org/wiki/Mannequin

For this idea development, I need to know more and understand on how to do a better projection mapping effect. At this point, I need to think about on how to handle the position the mannequin with the area space or stage and also choosing the type of mannequins.

Since it is built with different poses, I need to consider which pose  or posture is suitable to provide clear visual mapping.

Some sketches of type of poses for mannequins:


The provided sketches could help me to find better poses or postures of the mannequin that I am going to use for my experiments or/and my final build of the installations.

The mannequins are usually built with open postures where most of upper body parts are exposed widely, for easy clothing display. It is better to find the mannequins with their upper body parts exposed, rather than with folded arms that blocked the view of the chest area.


Some samples of real mannequins photos and images that help for the project:


For the build quality of mannequins, I prefer to get a clear, matte-looking type of surface because they will not get reflected by lighting sources and also provide less reflection that make the projected image looks clear on mannequins surfaces. As you can see from the images above, some mannequins have shiny-looking, reflective surfaces. Eventhough a plastic or polystyrene mannequin does not provide too much reflective surface, but the quality of the mannequin could be a bit problem for my projects since it is not really durable.

Sources:
http://hollywoodhatesme.files.wordpress.com
http://www.mannequinmode.com
http://andyfishwrap.blogspot.com

Stage and Projected Space

For the stage, it is recommended for me to have bigger spaces area.
The stage area involved a wider wall panel that acts as a background. It is positioned behind the mannequins.
The wall panel serves as background drop from the projected visual. When the visual is projected, the wall panel will shown the background of the certain scenery or effects.

So, as for the ideas, I am stuck with the chosen shape and design of the wall panel. I wonder if I want to make a flat panel or rounded wall panel(to make it look like a panoramic scene).


After sketching the plan and things, I decided to go for three-sided flat wall panel to be as a background.
It is because the 3-sided panels provided large range of space that is good for my background scenery. Plus, with some extra panel, it is good to show a lot of things for the background.

So, here is how my floor plan will look like for the installation:


The projector projects the visual from PC or laptop to this wall stage area. The mannequins are there to become a figure that wear the fashion clothing that will be showcased through the projected visuals. The wall panels act as background of the certain scenery. When the montage is running, the background will show certain scenery, animations, special effect, lighting effects and texts, according to my storyboard of the video timeline.